Showing posts with label Foam. Show all posts

Monday, 16 July 2012

Singapore Experience Design- Conclusion

OK so I have been somewhat lazy recently and haven't been updating this at all so here's to a new invigorated initiative, starting off with a couple of large posts finishing off what I did at Brunel.

After the progress shown in the last post (here) a number of projects began simultaneously. One of these was the finalisation of the logo for our 'company' (group). The idea we went with was the one above with 'rumah' meaning home in Malay, one of the major languages of Singapore. The logo references the 'pod' motif of the design with the pod formed by the union of the 'h' and the 'u' in the logo.

Another project I was involved with was the creation of a scale model of the design, made out of foamboard, card, plastic and lots of tape. This was done by myself and another group member over a number of days.
 The model featured a removable roof and top floor.

While this was being done others in the group were working on creating 3D CAD models in Solidworks on the computer, with the two groups in contact to finalise design details. When both these were done we began collating all the work to put together the workbook.

For the workbook I made some more graphics to go with the ones I had already made (Rig Graphics and Infographics) creating a hierarchy of needs with the bold text showing need particularly necessary for this project.
I also created a number of potential cover ideas based on different possible styles for the inside of the book
In the end a different idea proposed by someone else was chosen that we agreed looked better.

Before we could present the workbook we first had to give a verbal presentation to our peers on the course. The presentation went well and here are a selection of the slides from that.

 With the presentation out of the way we were able to concentrate on finishing the workbook, which was presented to one of our lecturers and a representative from Building Trust International. Again here are a sample of the pages.
After the small presentation feedback was given to the group and it was very positive. The Building Trust International rep said that we had exceeded both their expectations and the brief and the lecturer was equally positive.

Finally after the presentation some other members of the group put together a single board summarising our project on a single page for Building Trust International to use.

So a good finish to a fun, if stressful at times, project and a good end to the first part of the module.

Monday, 5 March 2012

Model Workshop 4

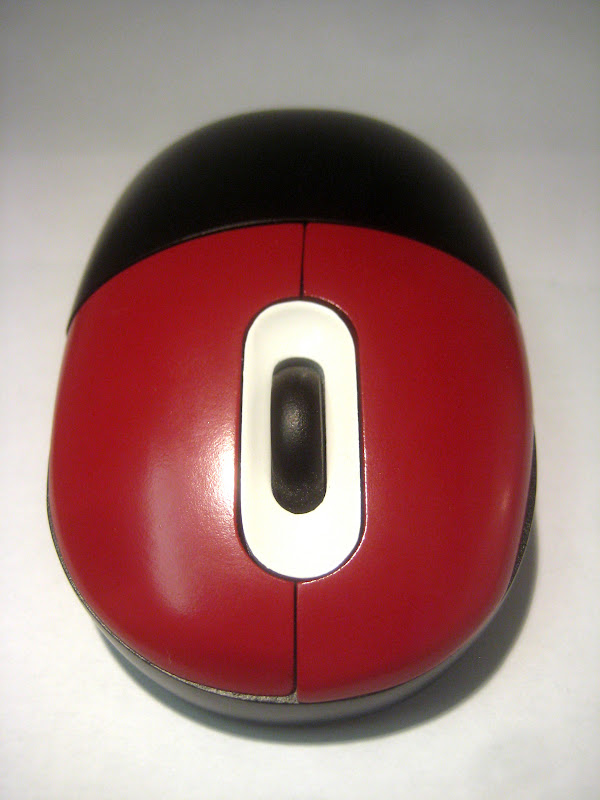
This is the completed Mouse Model, fully assembled. Its made by hand(mostly) out of Polyurethane(mostly) and is spray painted(mostly). I am pleased at how it has come out and I am really looking forward to making my own designs out of it next year.
Below are some different views of the model

Wednesday, 29 February 2012

Model Workshop 3

Last day of the Model Workshop and seeing as I got all the pieces fabricated yesterday, today was just spraying. Having got rid of some defects yesterday through sanding today started with another coat of primer, finishing the undercoat.
 With the undercoat finished I began applying my colour scheme. I chose to have the body a matte black, with the buttons in red and the wheel holder in white. This gave me a variety of colours and textures , with the red and white providing spot colours and contrast to the black body and wheel.
So after roughly three coats the colour was finished without too much trouble (although the red did splatter all over my lab coat) to a suitable quality and, because of the long drying time for the paint (its touch dry after 10 mins but takes 4 hours to dry properly) all that remained was to hand over the pieces to Paul the technician for him to glue together and mark tomorrow.
So as far as this project is concerned all that remains is to pick it up on Friday, where I'll be able to show it in it's fully assembled form.

Tuesday, 28 February 2012

Model Workshop 2

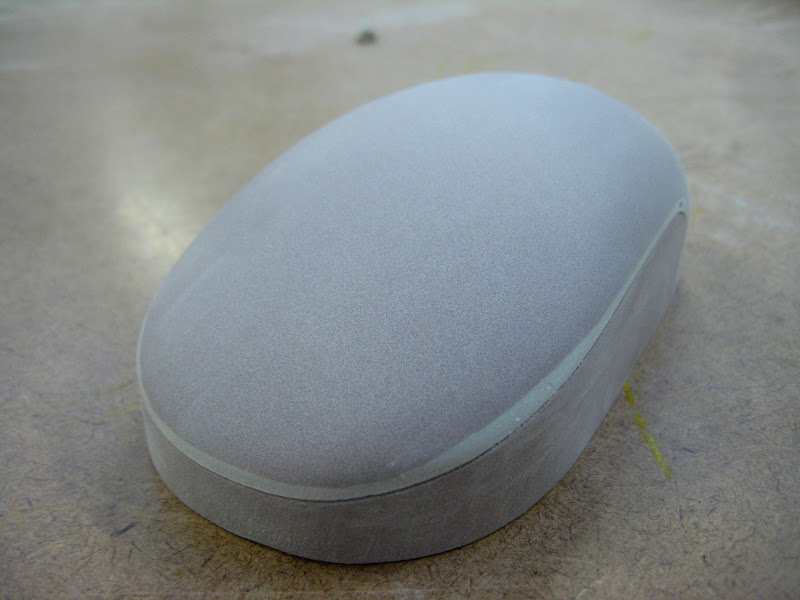
So returning from where I left off yesterday, this is the shape of my (computer) mouse model looking very much like an Apple mouse (button less), but that will change today.

The first job was to mark out  and mill on the body the slot for the holder for the scrolling wheel. The marking out was done with a digital vernier and then the material was removed on the milling machine creating...
...this lovely gap here.
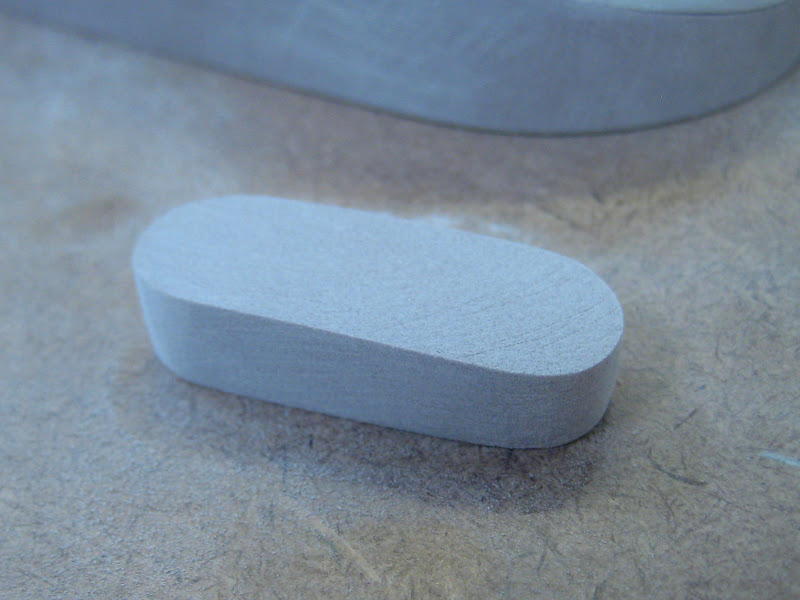
To fill the gap I began work on the holder for the wheel. Starting off with a simple block I cut and sanded it down so that it fitted neatly in the hole with approx. 1/2mm gap round it (this actually took two attempts as the first was too small)
 With the holder temporarily done, I set to work on making the buttons. To do this I had to first prise apart the two parts of the model and, making a substitute base out of pink foam, cut across and down the top piece splitting it into the body and two buttons. This was done on a fret saw and was quite nerve-racking as there was very little room for error.
That done I returned to the scrolling wheel holder where again using the milling machine I cut a groove and created an indent.
 So the final setup of the pieces looks like this both dismantled and together (OK minus the ABS base and the scrolling wheel itself)
So the final work I got done today was starting to paint the model. First each component was mounted onto a wooden stand and then I applied the first coat of a grey primer using a spray gun. The paint emphasises any mistakes made so I then took a couple of pieces back to the workbench to sand out a couple of holes before applying a second coat of primer.
So nearly done then, just the painting to finish tomorrow, so it shouldn't take too long (good as I have lots of other work to get on with)