Showing posts with label Markers. Show all posts

Thursday, 24 May 2012

London Artwork

Ok so a little divergence from the Singapore Project, some artwork. Now that my exams are finished and it's getting to the end of term, I have been using my location to explore some parts of London I haven't really seen much of. On Tuesday, as it was so nice I decided to look around Hyde Park and Kensington Gardens.
While there I did this watercolour of a small shelter in Kensington Gardens. A6, took about 1 hour.
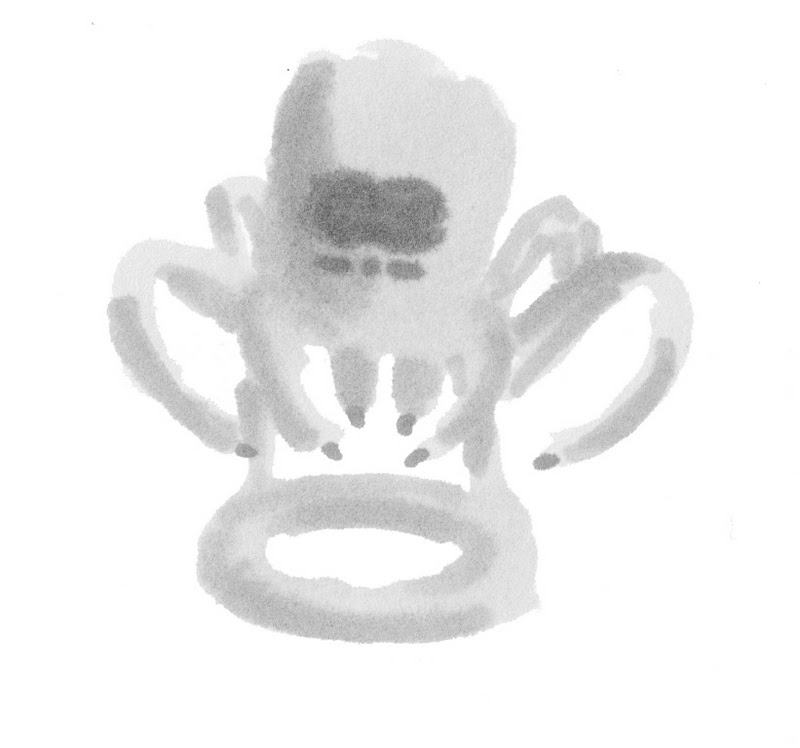
After that I went to see Russel Howard's Good News being recorded and while I waited for some friends I did this quick ink sketch just outside Hammersmith Station.

Friday, 18 May 2012

Singapore Experience Design- Final Design Sketch

This is a render of the final design for the Singapore Migrant Worker Accommodation project.
It has two stories, and is made of a wood called Glulam, which is made of the bits of wood that are normally discarded. It would be modular, this is just one unit but they could be stacked into tower blocks. It would be placed on or near to the work site but the construction company.

Sunday, 6 May 2012

Singapore Experience Design- Meeting Sketches

The next stage in the Experience Design Singapore Project was a series of meetings combined with personal work to establish the design and layout of the accommodation in response to the given brief. We explored a number of ideas and I created these sketches to both show ideas and record the ideas generated at the meetings.
This first sheet was just after the brief was given so it is exploring the brief and planning for the research while some ideas are also suggested such as the tables and a possible 3 floor layout.

This is more research topics along with exploring the layout of the beds on the top floor
More layout work, this is sticking with a simple rectangular shape 
(the layout is only limited to 20m2 any shape)
These were light sketches looking at the sleeping arrangements looking at bunks and 'sleeping pods'.
Furthering the 'pod' idea and some quick folding table ideas.
Here a new direction was suggested for the layout of the area with a 'l' shape plan. This allows us to fit all of the beds on the top floor. Also shown here are some ideas for water collection methods and some materials. Also there are some brand and logo ideas at the bottom.

The finalised layout with the dimensions included.
With the layout sorted I did this quick render of how it might look. From here we began working on sorting out the layout of the ground floor and design of the sleeping pods, one of which we would be building a life size rig to test it's potential.

Saturday, 4 February 2012

Eco-Design Ideas

Sorry for the long delay,its been a bit of a tricky week. These are just some quick ideas generated in a group idea session for the eco-design brief: Less is More
Sorry it's faint, its clearer when enlarged (click the image). Interestingly when a lecturer came round to see how we were doing, she commented that she found my sketching style similar to the work of Quentin Blake (best known for his illustrations of Roald Dahl novels), I can kind of see what she means, although it was never my intent to imitate his style, I guess sometimes these just happen.

Friday, 9 December 2011

Cocktail Maker- Mixing Sketching and Photoshop

A couple more concepts for Graphics, to help flesh out the workbook. These are two designs where I show a couple of the quick ways I can render concepts. I started both designs with a simple pencil and pen isometric drawing.
Then I added marker rendering to the sketch adding tone and texture to help define both its colour form and material.
Then finally I used the original drawing in Photoshop to create this colour render of the the product.

The second design was done in exactly the same way as the one above. To quicken the Photoshop stage I used my graphics tablet as I am quicker and more comfortable with it than with either the mouse of touchpad.

Wednesday, 30 November 2011

Cocktail Maker

Sorry I haven't posted in a while but I'm back on track now so....
For my graphics project I am making an automatic Cocktail Maker. It will be made in Photoshop and presented as a poster and workbook. Below are some initial ideas for the design in ink.
 The next few designs are just in the marker pens are are supposed to be only vague ideas.

Wednesday, 23 November 2011

Sci-Fi Space Ship

Today I had a free day and other than meeting a friend from school whi had come up for an interview, nothing really happened, so lots of work then...well not really. Today I basically had, as far as the work had to go, a creative block. I was still able to get some maths and electronics done, so not a day wasted, but not a great day either. So in an attempt to get some creativity back into me I decided to do something I have not done in a while and embrace creativity wholely, abandoning reality. To make something completely imaginative.
So this is the resulting design (please click for a larger view it looks much better), a sci-fi sort space ship/plane. I chose to do it following the advice of the artist Doug Chiang, an exceptional concept designer whose book Mechanika I own. Doug Chiang is a multi award winning designer (2 BAFTAs and an Oscar) who has designed for movies such as Star Wars Episode I (as lead designer), Episode II, War of the Worlds, Terminator 2 and Forrest Gump. I would recommned his book Mechanika to any designer as it features excellent tips on using markers and photoshop and creating good design.

Friday, 4 November 2011

Deconstructivism Mug 2 & Games Console

So no lecture today, straight into the foam. Today was continuing with the design style object started last week, a deconstructivism mug for me.

Todays progress was to finish roughing out the overlapping sections, I had only done one side previously, the task of removing the centre to make a cup, and the begining of the handle. The most challenging aspect by far was the removal of the material in the centre of the mug. To do this I first used the hot wire cutter to split the whole model down the centre, then after an attempt to cut out the centre while avoiding cutting through the base which was taking too long, I cut the entirety of the base off and used the hot wire cutter to sculpt out the excess material. Then the sides were sanded smooth and it wasstuck back together using PVA and pins. The PVA was also mixed with the foam dust to create a filler to fill and holes left from the cutting.
The mug drying after glueing.

The mug is still not finished, however I should be able to get it finished over the next week so on Friday I can start on the second part of the assignment.
 After the foam, I then went to a drawing workshop, run by the same third year students from before. The task this week however was more of a creative and rapid conceptulization task. There was an option of three different briefs:
  • Company X wants you to design a USB drive, including both casing and/or docking port.
  • Company Y would like you to redesign a games console, including controllers
  • Company Z would like yo to design a form of seating, the seating can be ones own preference
I went for number brief two. We then had 20mins to get down as many ideas and as much information down onto paper.

Once the 20mins were up, the best examples were shown to the class, mine included, and we were given another 20 mins to develop the idea and create a series of drawings showing all the aspects of the item.
In this part I struggled with more, somewhat mucking up the scale on the large angle drawing and trying to compensate for a lack of colour. But once again the lecture was very useful and a good exercise and practice of the techniques.

Wednesday, 2 November 2011

Quad Bike Sketches

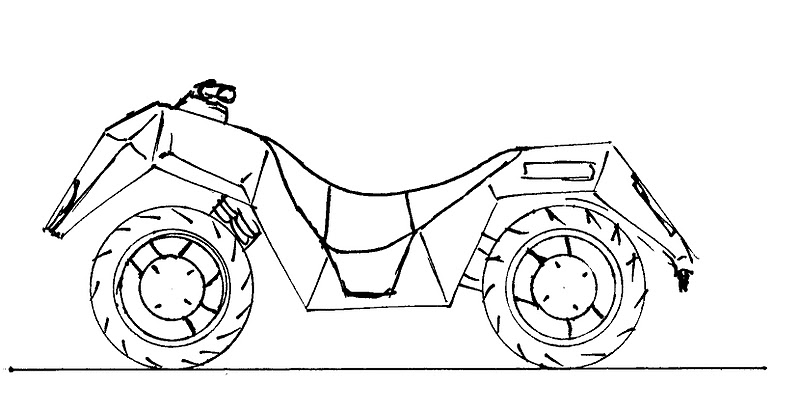
Quadbikes, lots of quadbikes. So these are some of the development sketches for my Graphic Communication project. I chose a quadbike as I hope to be challenged by the complexity of it, wanted to to a vehicle of some sort (without the awkwardness of doing a car) and I like quadbikes. The sketches below are some side on views first of all.
After those I have done some three quarter view sketches in ink, exploring more ideas and forms.
 
Finally I did a few sketches starting with markers to establish the vague forms before using the fineliner to establish some details.
So yep, eventually I'll have to make this look life like in photoshop, should be fun, and a good challenge.